Start with chiles worth using
Toasting wakes up the aroma of dried chiles; rehydrating softens them so they blend into a sauce. Neither step can rescue a chile that is stale or spoiled. Look for chiles that smell pleasantly fruity, earthy or smoky, depending on the variety. They should be flexible enough to bend a little, though some brittleness is normal. Discard any with visible mold, a damp or musty smell, or signs of pests.
Before heating the skillet, remove the stems. Tear the chiles open and shake out the seeds, then pull away any tough veins if you want a smoother, milder sauce. A few seeds left behind are not a problem, but loose seeds can burn quickly in the pan. Wipe dusty chiles with a clean, slightly damp cloth. If they need a rinse, dry them thoroughly before toasting so they do not steam against the skillet.
Toast briefly, not until dark
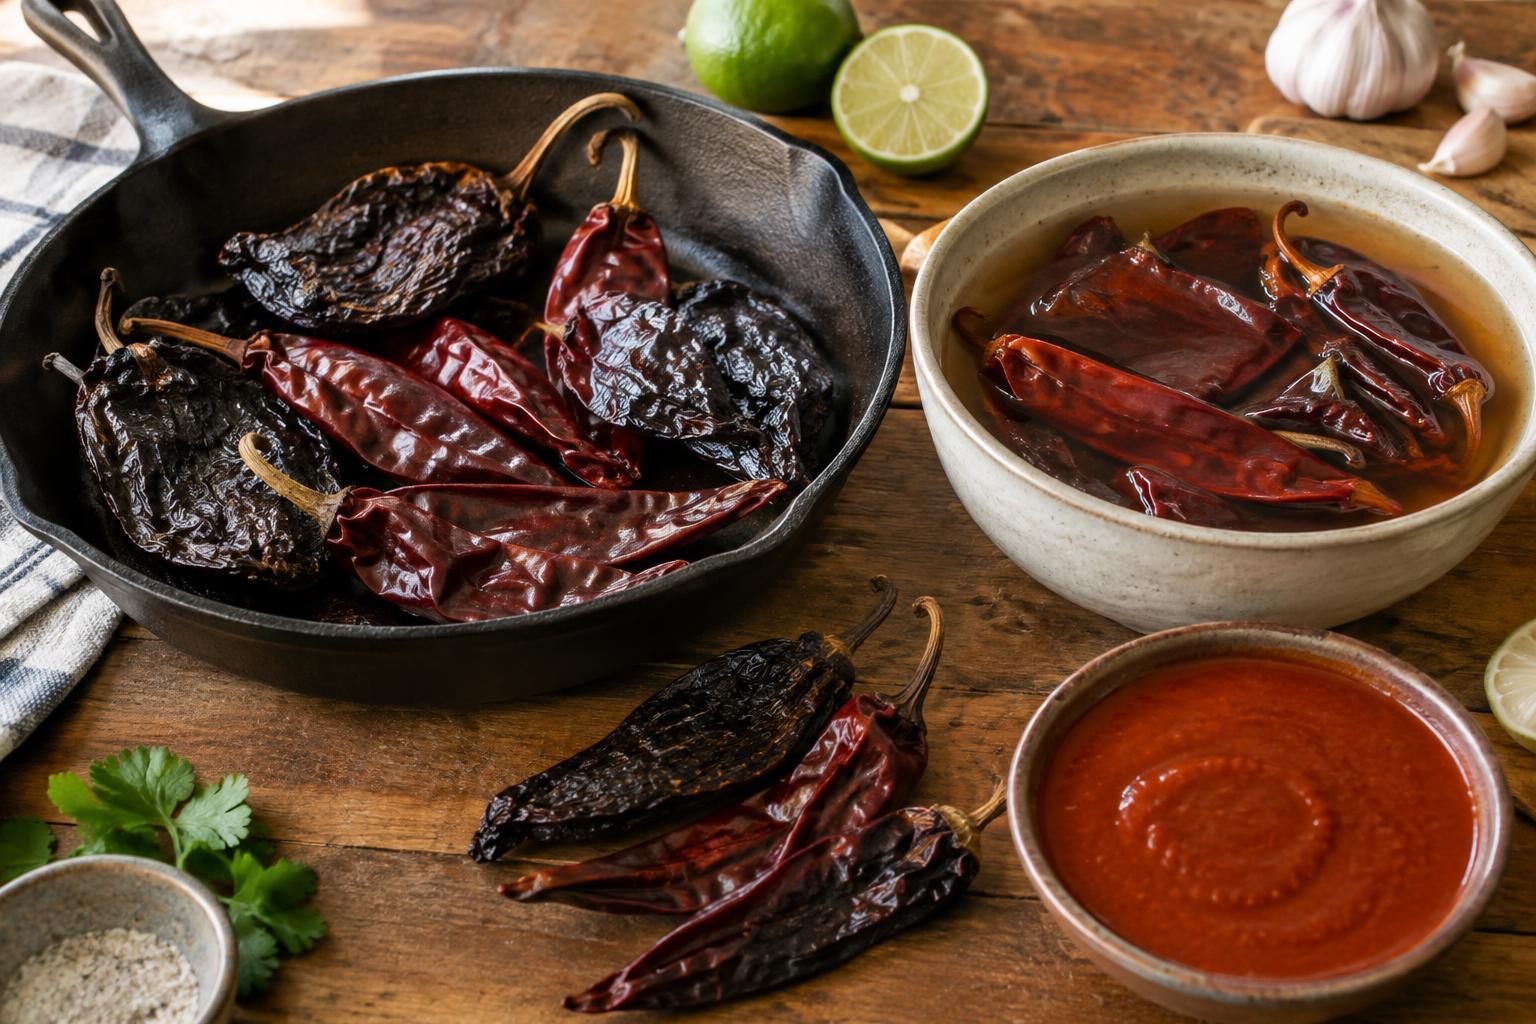
Set a dry skillet over medium-low heat. Once warm, lay the chile pieces in a single layer, working in batches if needed. Press them gently against the pan with a spatula for a few seconds, then turn them. The aim is a more noticeable aroma and a slight change in flexibility or color—not blackened patches. Depending on the chile and the heat of your pan, the whole process may take only seconds per side.
Keep your attention on the skillet. Thin chile edges and exposed inner surfaces can scorch before the rest of the piece looks toasted. If the pan smokes, the chiles smell acrid, or you see charred spots spreading, lower the heat and take them out. A badly burned chile is best discarded rather than blended into a sauce, where its bitterness will be difficult to hide. You can also skip toasting a particularly delicate chile; a gently soaked chile is more useful than a scorched one.
Soak until pliable
Move the toasted chiles to a heatproof bowl and cover them with hot water. A small plate can keep floating pieces submerged. Let them soak until they bend easily and feel soft enough to blend, often about 15 to 25 minutes. Very thick or leathery chiles may need longer. Hot water does the job without the extra risk of scorching that comes from simmering the chiles in a pan.
Lift the softened chiles out rather than pouring the entire bowl into your blender. Taste a little of the soaking liquid before using it: it may be pleasantly chile-flavored, or it may carry a harsh edge. If it tastes bitter, discard it and thin your sauce with fresh water, broth or another liquid suited to the dish. If it tastes good, add a little at a time. This small check gives you more control than assuming every soaking liquid belongs in the finished sauce.
Blend and balance the sauce
Blend the softened chiles with a modest amount of liquid first, adding more only as needed to keep the blades moving. Garlic, onion, tomato or spices can build flavor, but start simply enough to taste what the chiles contribute. For an especially smooth sauce, press the puree through a fine strainer to remove stubborn bits of skin. Then cook the sauce according to your recipe, tasting again after its flavors have had time to come together.
If a finished sauce tastes flat rather than bitter, a little salt or citrus may brighten it. If it tastes distinctly burned, acid and sweetness are unlikely to erase that flavor; starting again is usually the better choice. Serve a well-balanced chile sauce alongside cooked fish, shrimp, vegetables or rice. If you use it with seafood, handle and cook the seafood appropriately: citrus juice and acidic chile sauces can change the texture of raw seafood, but they do not make it equivalent to cooked seafood.