Start with dough that can hold its shape
The first step toward a tender arepa happens before the griddle heats up. Use precooked corn flour labeled for arepas, often called masarepa. It is not interchangeable with ordinary cornmeal or the masa harina commonly used for tortillas. Follow the package’s water-to-flour guidance as a starting point, then judge the dough by touch: it should feel soft and pliable, not wet enough to stick heavily to your hands or dry enough to crack as you shape it.
Mix the flour with warm water and a pinch of salt, then let the dough rest for several minutes. This pause gives the flour time to absorb moisture. Knead it briefly afterward and press a small piece into a disk. If the edge splits, work in a little more water; if the dough clings to your fingers, add a little flour. Make these adjustments gradually. Dough that starts too dry is more likely to produce an arepa with a tough center, no matter how carefully you cook it.
Shape for even cooking
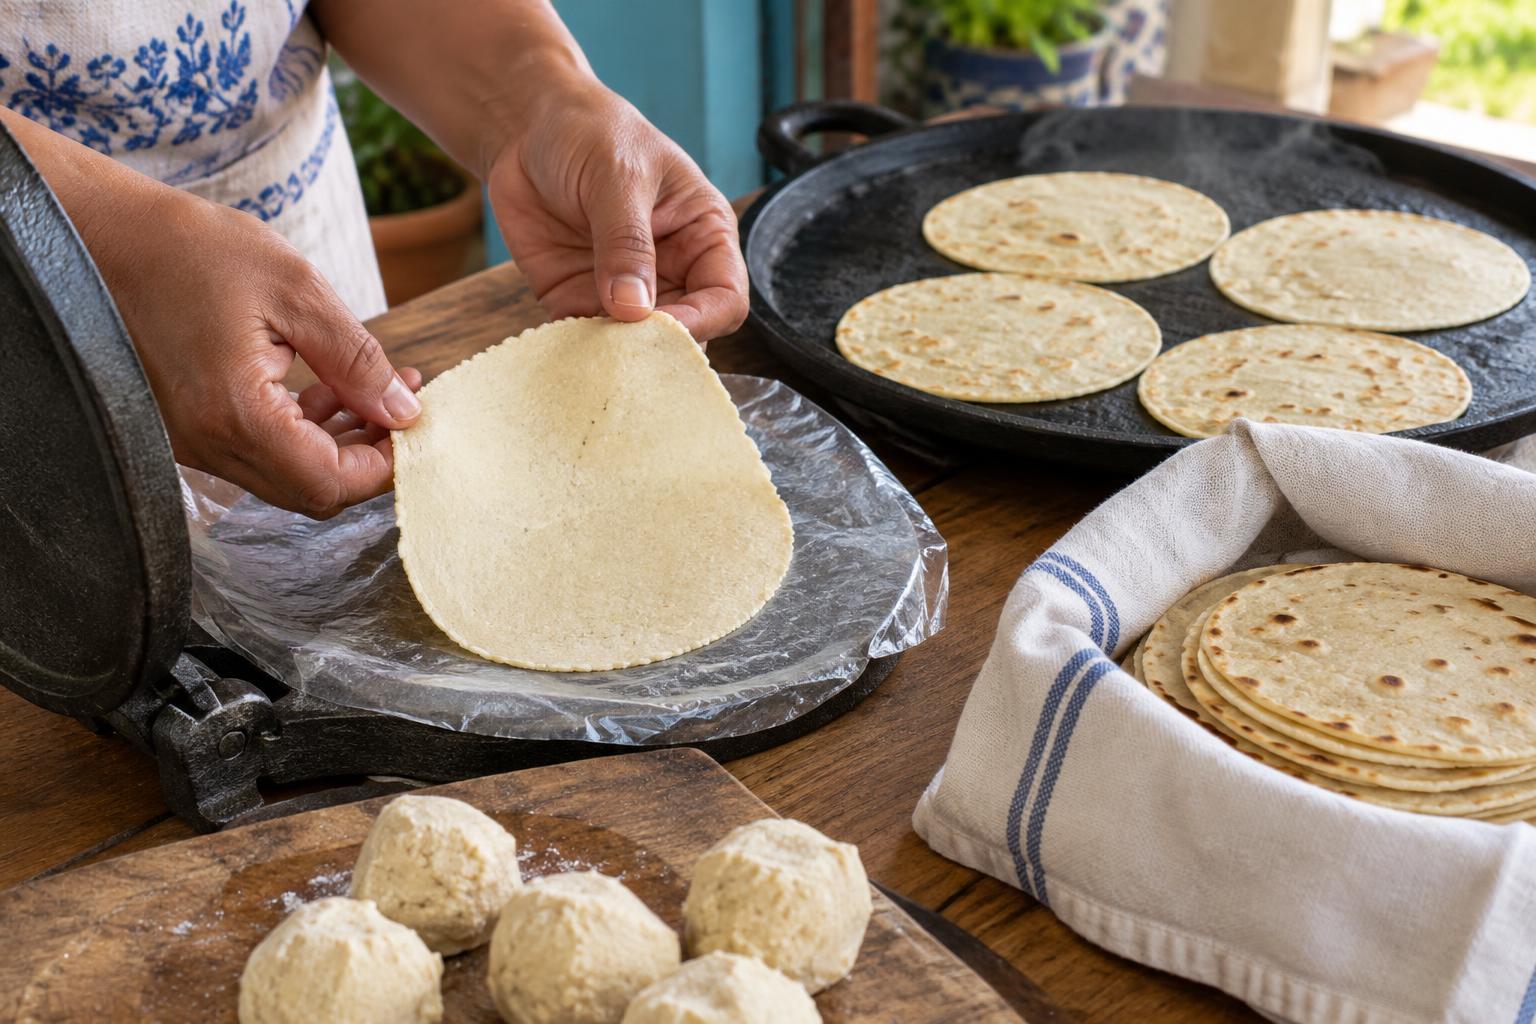
Divide the dough into portions and roll each one into a ball before flattening it between your palms. Smooth the edges with your fingers so cracks do not widen on the griddle. For a split-and-fill arepa, aim for a disk roughly half to three-quarters of an inch thick. Thinner disks cook through more readily but leave less room for filling; thicker ones need gentler, longer cooking.
Try to keep the thickness consistent across each disk, rather than leaving a mound in the middle and a thin rim. A thin edge can turn hard while the center is still warming through. Set the shaped arepas on a plate or tray while you prepare the pan, and cover them loosely if they must wait so their surfaces do not dry out.
Use moderate, steady griddle heat
Heat a heavy skillet or griddle over medium heat and coat it lightly with oil. You want enough heat to set the surface and develop golden patches, but not so much that the outside darkens before heat reaches the center. A small scrap of dough makes a useful test: it should sizzle gently when it touches the pan, without smoking or browning almost immediately.
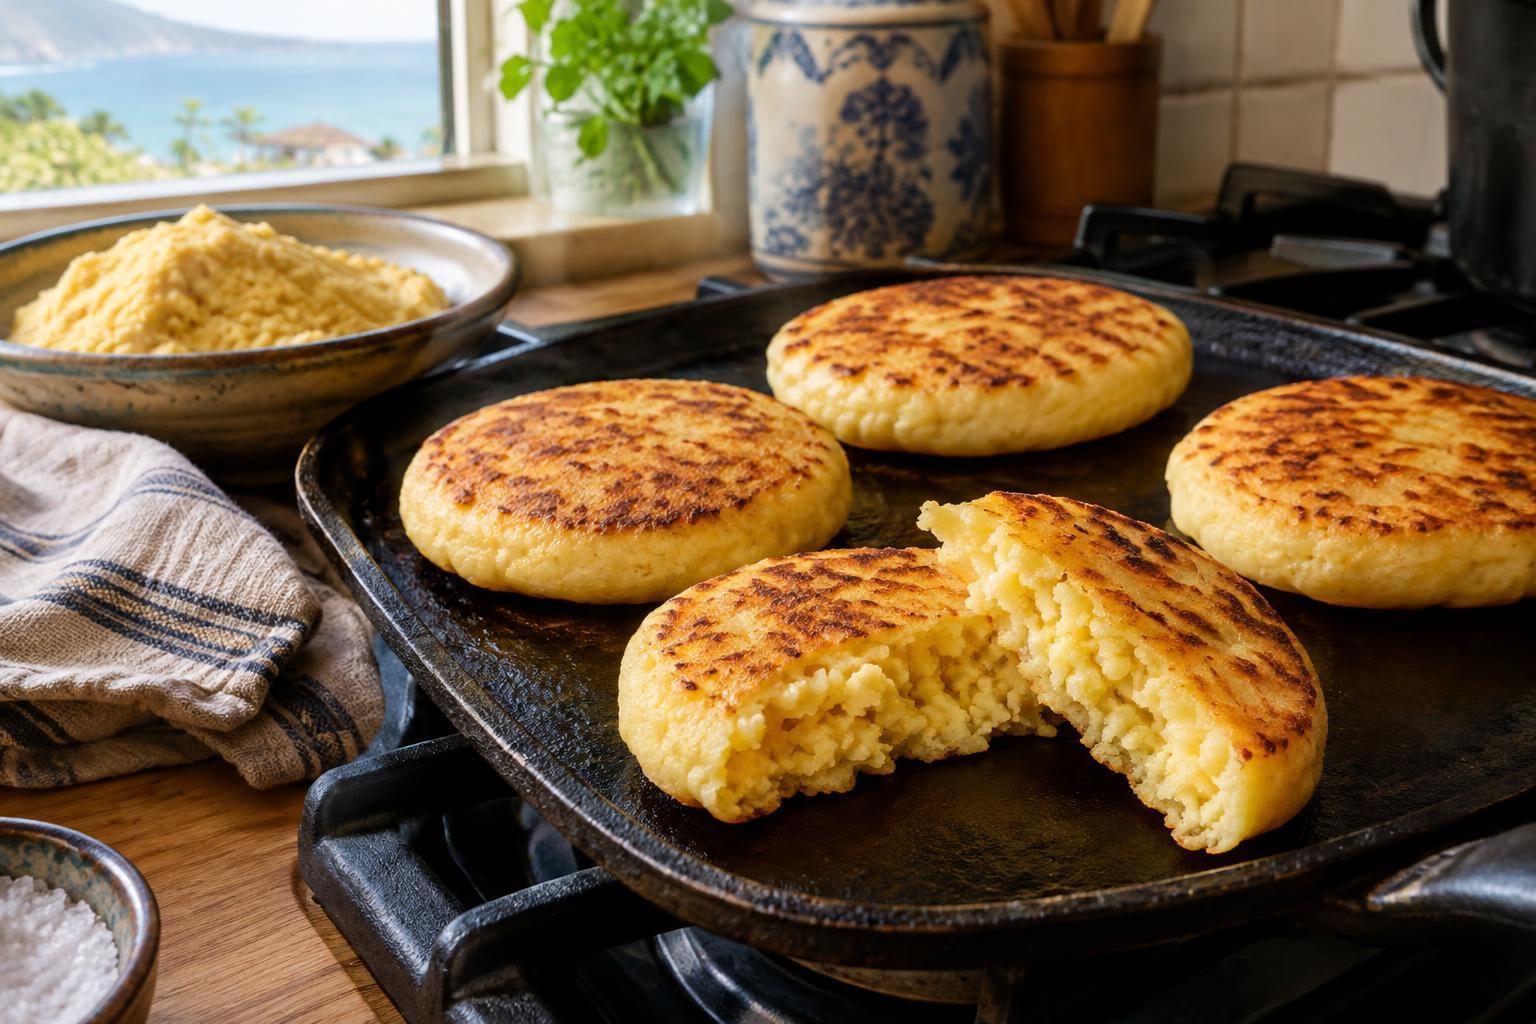
Place the arepas on the griddle with space between them. Let the first side cook undisturbed until it feels firm enough to lift cleanly and has golden-brown spots, often about five to eight minutes. Flip and cook the second side in the same way. Treat the time as a guide, not a rule: pan material, dough moisture and arepa thickness all change the pace. If the crust colors too quickly, lower the heat rather than flipping repeatedly. If the surface stays pale and soft for a long time, raise the heat slightly.
Finish the center without sacrificing the crust
Once both sides have set, check an arepa by lifting it with a spatula and giving its side a gentle press. It should feel firm on the outside with some give, rather than feeling like a rigid biscuit. If you are unsure about the center, split one open. The inside should be hot and tender, without a visibly wet or pasty layer. A little steam is welcome; a gummy core needs more time.
If the crust looks ready but the center needs longer, move the arepas to a cooler part of the griddle and reduce the heat. You can also finish them in a moderate oven until heated through. Either approach gives the middle more time without leaving the crust over direct heat. Avoid pressing the disks flat with a spatula as they cook: that can make the center denser and thinner than you intended.
Rest briefly, then fill
Transfer the finished arepas to a rack or a plate and let them rest for a few minutes before splitting. The pause makes them easier to handle and lets moisture settle through the center. For the crispest crust, avoid stacking them under a tight cover, which traps steam and softens the surface. Open each arepa carefully with a small knife, leaving one edge attached if you want a pocket.
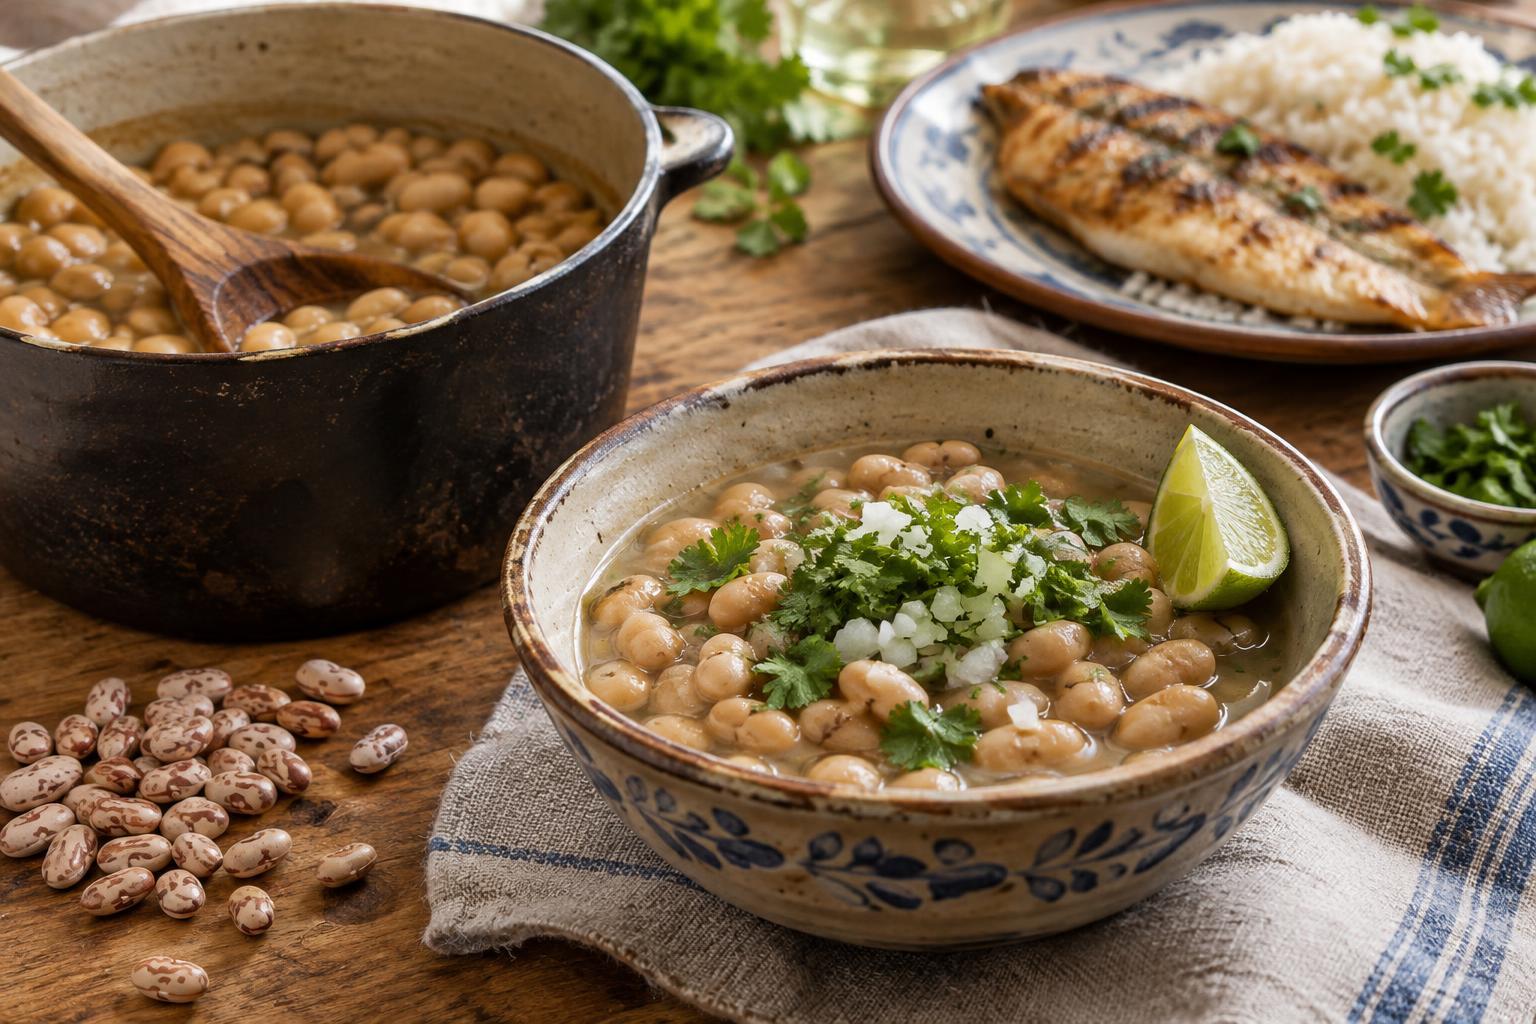
Fillings can be simple: beans, avocado, sautéed vegetables or cooked seafood with a squeeze of citrus all pair well with the warm corn flavor. Keep perishable fillings properly chilled until needed, and refrigerate leftovers promptly. If you choose a raw seafood filling, remember that citrus changes its texture but does not make it equivalent to cooked seafood for food safety. For a more forgiving make-ahead meal, use fully cooked seafood and add citrus just before serving.